Showing posts with label cotton. Show all posts

Wednesday, 25 April 2018

Denim Skirt with a Flare

Kia ora! Today is ANZAC Day, a national day of remembrance in Australia and New Zealand that broadly commemorates all Australians and New Zealanders "who served and died in all wars, conflicts, and peacekeeping operations" and "the contribution and suffering of all those who have served". It is always 25 April, regardless of what day of the week it falls on. This year is a Wednesday, a day off in the middle of the week is a real bonus. I thought I would make the most of the day off and get into some sewing ... but first I thought I would share what's been on my sewing table lately.


When I moved my blog in March I was about to start Marfy 3885 .... this is how it turned out. It's a really interesting pattern that combines features of a jean skirt with the flare of a quarter circle skirt.

Friday, 16 March 2018

Sapporo from Spring to Autumn

Kia ora and welcome to the new home of my blog. We have had the most amazing summer here in Wellington (New Zealand), but sadly it's coming to an end and there is a sense of Autumn in the air. While Summer is my favourite season Spring and Autumn are great for making the most of my wardrobe twice a year.

When Papercut Patterns launched the Sapporo pattern as part of their Sakura collection I was in love ... the cocoon shape ... the angled lines ... the all-in-one collar that hugged the neck ...


This version is actually my second make (haven't managed to get good photos of the first one yet - watch this space). I made a size XXS/XS without any fit adjustments. What I did change though was the self lining of the sleeve. The pattern says to self-line the sleeves with the main fabric, but I found that with my first Sapporo it kept pulling my the long sleeve of my top underneath.  Instead I drafted a 2" facing for the sleeve hem and then cut the remainder of the sleeve from lining.

Friday, 17 March 2017

Pink Floral Sweetheart

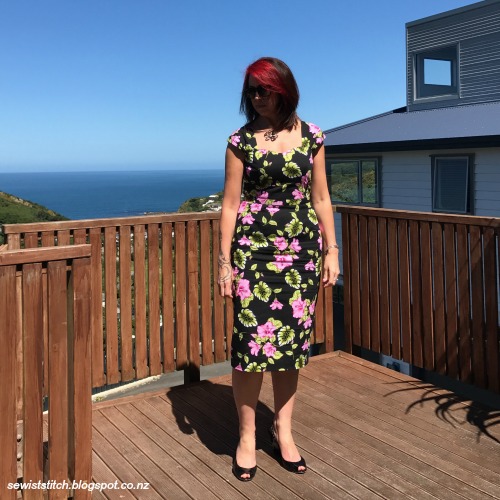
Pink Floral Dress

This dress was fun but challenging at the same time. First the fun ... I found this fabric by accident while on holiday in Rarotonga earlier this year, and immediately knew it would make a lovely summer dress while still keeping within my wardrobe comfort zone ... because it was black? probably!

The challenge ... to mash together two separate patterns into one dress that looked like it was meant to be. The top is the Sewaholic Cambie pattern and the bottom is the Billy Jean pattern by Bluegingerdoll.  Both dresses I've made before quite a while ago, and well, the body has changed a little since then.

Monday, 30 January 2017

Shirt Dress with Butterick Retro

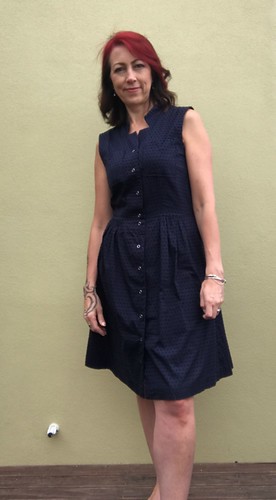
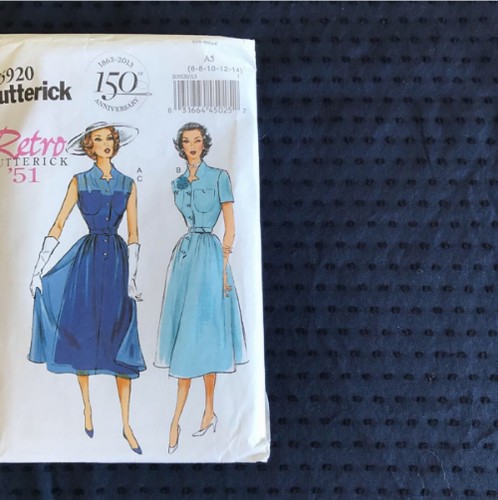
Shirt Dress B5920

B5920 was calling my name again ... it appears that I hadn't finished with it, despite having made it twice before.

Shirt Dress B5920


My first make was exactly to pattern version A. I never wore this dress! The second involved a few alterations to convert it to a maxi with a full length placket, which I wear regularly.

Sunday, 15 January 2017

Floral, Beach, Summer, Holiday ...

Happy New Year!  Hope you all ate yummy food 'til your heart was content. I know I did.

I'm looking forward to what 2017 brings, which must be much better than 2016.  I started last year sick and missed the wedding of my very good friend and I ended the year sick, for three weeks if you please!  In between that it was just a big pile of life stuff that I didn't enjoy at all.  By default the blog went into hibernation.

Life is settled again and I begun this year in Rarotonga celebrating my eldest 21st birthday on new year's eve.  Being on holiday called for drink lots of tropical cocktails


Sunday, 27 September 2015

Refining the Granville

Third time lucky ... well so the saying goes anyway.

Untitled

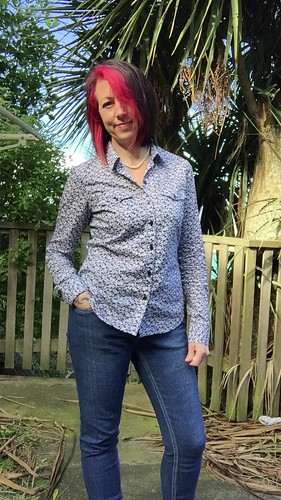
This is my third Granville Shirt. The first was HERE and the second HERE.  But even though this was the third I felt that there were still further adjustments I needed to make to refine the fit.

For this version I left all the previous adjustments in place, you can get that list here, and then made the following tweaks
  • Added 1/4" to front side seams
  • Added 1/4" to the side back side seam - both these adjustments were so I could get more room around the body.
  • Added 1/4" to each side of the sleeve under arm seam, tapered to existing wrist edge - again giving me more room around my arm.
  • Added 1/2" to the length above the waist.
  • this time I added 1" to the original pattern length of the sleeve.
Although minor, the fits feels better and I'm much happier with the length of the shirt.

Sunday, 17 August 2014

Belcarra and Elle

It's been a little quiet around the blog lately, but it's not that I haven't been sewing ... it's that I've been really really bad at taking photos.  Come the weekend and I really can't be bothered doing my hair or my face or going outside, because it is sooo cold!

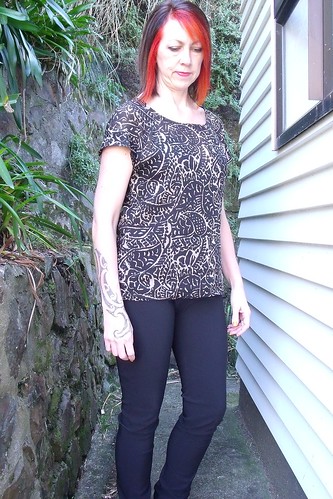
With my hair freshly done, today was the day to get in front of the camera.  I'll start with a couple of wearable muslin ... the Belcarra top by Sewaholic and the Elle Pant by Style Arc.

Belcarra & Elle

Let's start with the Belcarra.  As soon as this pattern hit the world I knew I had to order it - I knew that this is one of those patterns that would be a staple in my wardrobe.

My body shape doesn't fit the Sewaholic profile, so I selected a size 10 based on my bust size and graded to a size 8 at the hips. 

Sunday, 20 July 2014

A Little Black Marfy Dress

Untitled

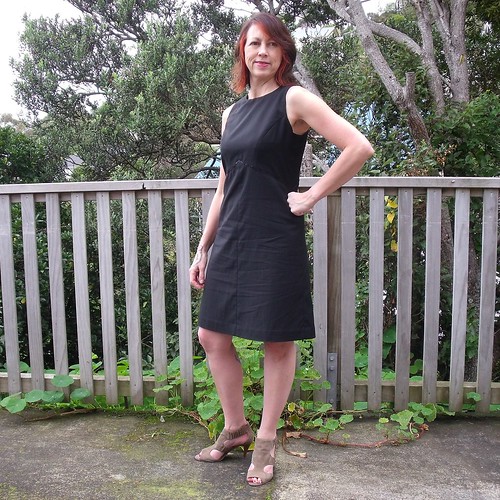
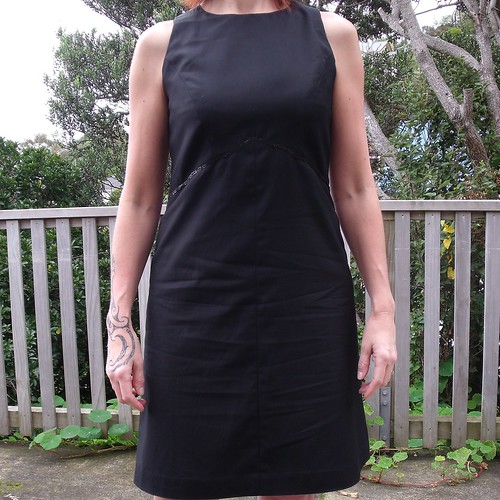
A little black dress, yes I've sewn a pretty plain looking black dress, but the construction of this little dress was more than simple.  Well that's what it felt like while I was in the middle of it.

This is Marfy 3358, one of the free patterns in the 2014/15 catalogue - I see that these patterns are now available for PDF download.  I was drawn to the pattern by the style lines - the empire line taking on a chevron rather than being parallel to the ground under the bust; the bodice princess seams and the high neckline.

Untitled

Monday, 9 December 2013

Two months, 38 hours and counting

Back in October I embarked on construction of My Little French Jacket and it has been a bit of a journey.  I started with a hiss and a roar and was ahead of the game, each week waiting anxiously for the next sew-along post to come out - but then came the sleeves and a pile of other sewing that I wanted to do.  So when I picked it up yesterday, determined to conquer the sleeves I realised that it had been three weeks since I did any work on it!  Just as well I was ahead of the game, because after successfully getting those sleeves in I'm back on track, yay!  So I thought I would share a bit about the journey so far ....

Fabric & Lining

I chose this cotton boucle and silk lining - both purchased from The Fabric Store here in Wellington.

LBJ #LBJ muslin finished, now to tidy it up

Muslin pieces all traced and thread traced.  I selected a pattern size according to my bust measurement and made the muslin without any adjustments.  The upper body of the muslin was a great fit, but I had to let out the princess seams in the front for my waist and hips.  Minor adjustments in the scheme of things.

Sunday, 20 October 2013

Cotton Chloe

Cotton Chloe comes very hot on the heals of my first make

Cotton Chloe

I wasn't intending to make another Chloe so quickly but .... I was in the Fabric Warehouse getting some cotton lining for my super cool geek fabric and spotted this cotton black/purple/cream fabric and just couldn't put it down.  I had very good intentions of only walking out with what I had come for - but my will power just wasn't that great.

Cotton Chloe

Before I even got out of the shop I knew that this fabric would be sewn up into another Chloe.  I didn't make any changes to the dress itself.  The sleeves on the other hand I thought I would remove the excess fabric from the underarm seam.  On the first dress I took out 5/8" from the front side panel and back side panel but didn't remove the equivalent from the sleeve seam.

Cotton Chloe

But that was a complete fail and the sleeves were too tight.  This was a real shit because I had already hand sewn the lining to the dress around the sleeve seam.  On the bright side I hadn't overlocked the raw edge of the sleeve seam, because I had tucked it into the dress before attaching the lining.  Just as well I had plenty of the black cotton fabric in my stash, although I hate having to redo things!  I should so have learnt my lesson with sleeves by now - obviously Not!

Oh I just about forgot, I also lengthen the hem of the dress 2" more than the pattern.   Two reasons:
1.  I wanted a deeper hem on this dress than my first which was only 1"
2.  I wanted the dress to be about 1" longer than my first.

Cotton Chloe

Yay for a deeper hem but I'm not sure that I really like the length, perhaps just a bit too long for the style?  OR maybe it just seem like a lot of print?

Too finish I put wee studs on the pocket tabs.  I didn't put any up near the neckline as the pattern suggests as I think they are too small and will get lost against the pattern and I think a nice necklace will be better.
Cotton Chloe

I'm sure this won't be the last Chloe I make either.  With summer coming on I think a sleeveless version in a nice light fabric might be in order!

More photos on my Flickr -->

Sunday, 6 October 2013

My Little Black Jacket

I am super excited about my next sew-along.  This is being hosted by A Sewing Challenge and thewallinna with mentor Susan Khalje.  The Chanel inspired little french jacket!

Thewallinna

This wee 2 minute video was produced by Chanel in 2012 and shows an overview of the making a "Little Black Jacket".  It is so inspiring.


LinkWithin

Related Posts Plugin for WordPress, Blogger...